RevoTile™
Installation Instructions
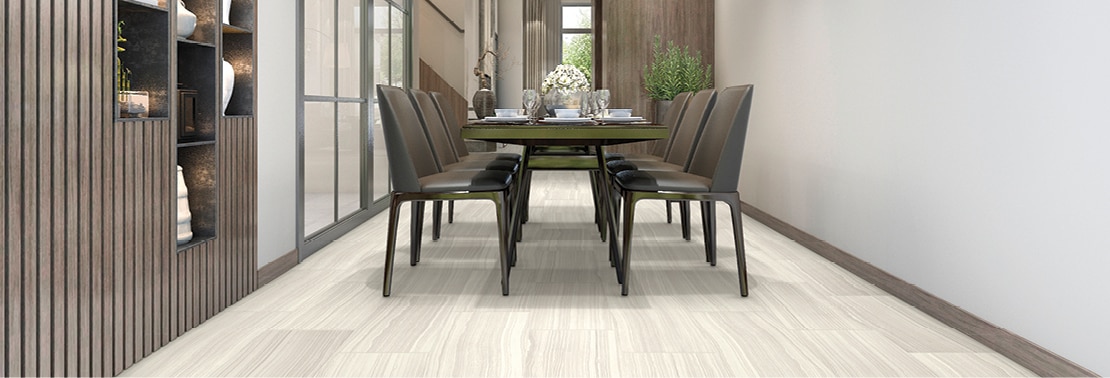
Tile installation is over 2 times faster with revolutionary RevoTile™. This click tile, floating floor system is genuine porcelain tile with ClicFit™ Technology.
Browse the entire RevoTile collection, view accessories and tools, and scan the most frequently asked questions for RevoTile.
This handy download offers tips for transitioning RevoTile with other surfaces.
For step-by-step instructions, read our installation instructions below, download our installation guide, or watch this video.
MATERIALS NEEDED
• ClicFit™ Install Kit
• RapidPrep™ Underlayment
• RapidGrout™
• Measuring Tape
• Pencil and Straight Edge
• Rubber Mallet
• Adhesive Tape
• Grout Float
• Margin Trowel (optional)
• Microfiber Sponge
• 5-Gallon Bucket
• Tile Score & Snap Cutting Tool (dry cut) OR Wet Saw for corners and curves
• Construction Adhesive
• Silicon Caulk
• Caulking Gun
* PLEASE NOTE: RapidPrep Underlayment and RapidGrout are required to comply with RevoTile's warranty
SUBFLOOR
2. Subfloor must be level with a maximum 3/16 inch in a 10 feet span. If not, level subfloor using recommended leveling treatment, such as Portland cement compound.
3. For concrete slabs, moisture level should be below 80% relative humidity.
4. Wood subfloors must be structurally sound and deflection free. Repair squeaky floor prior to installation. Sand down high spots and fill low spots with patching compound.
5. Check door frame clearance by placing locking tile with underlayment against the door frame. Mark the height and saw the door and door frame to the marked height if needed.
UNDERLAYMENT
7. Allow underlayment sheets to lay touching each other. DO NOT OVERLAP.
8. Use adhesive tape to fasten sheets together at the joints.
CLICK TOGETHER
10. Measure the width of the room and divide by the width of the tile. If the remainder is 3 inches or less, cut down the width of the first row to allow the last row to be more than 3 inches.
11. Start at a corner work left to right.
12. Begin with the two tongue sides facing the two walls in the corner.
13. Use spacers to leave a 1/4 inch expansion gap at the starting corner. Spacers should be used along the entire perimeter to ensure uniform 1/4 inch gap.
14. Lay the first tile along the corner with the tongue side facing the wall. Align the adjacent piece on the short side and click it by angling in the tongue of second tile into the groove of the first tile and then push it down. Complete the entire first row by repeating this step. Lightly tap with a rubber mallet and tapping block if needed. Make sure all pieces are flush on the groove side or the next row.
15. Start the second row by cutting a piece in half or to 33% or 66% of its original length to get a staggered pattern. Angle the tongue on the long side into the groove of the first row. Push downwards and make sure the tiles are clicked together correctly. Hold the next tile close to the previous tile on the short side and angle in on the long side first and push down.
16. If needed, apply pressure with foot or knee to keep the two tiles level and in the same plane. Make sure the tapping block lip sits on the edge of the tile and not the click profile to prevent damage to the profile. Repeat this method for the remaining tiles in the second row. TIP: To assist short-side alignment, bridge the two pieces with a full piece on the long-side of the following row. Remove the full piece when locked.
17. Continue to finish the room. For installing the last row of tile close to the wall, use the angle pullbar tool by anchoring in on the outer edge of tile and tapping on the inside with the rubber mallet.
18. (OPTIONAL) Another option is to start a row and work in the next several rows (3-4) simultaneously before finishing that row. The advantage is that it reduces the back and forth movement across the floor.
GROUT
20. Use the recommended flexible, pre-mixed RapidGrout or epoxy grout only; do not use regular cementitious grout.
21. Lightly dampen the tile surface to be grouted. Scoop sufficient amount of grout with a margin trowel and place on tile. Holding the float at 45 degree angle, spread the grout and press into the joints firmly to fill them completely. Work in a small area at a time, no more than 3 foot x 3 foot section.
22. Sweep the float diagonally across to remove excess grout.
23. Wipe across with a wet sponge. Make sure the grout is hardening taking care not to dig out grout from the joints. Change water as required.
24. Clean any grout haze across the tile by wiping with a wet cloth, followed by a dry cloth.
25. For areas prone water exposure, caulk along perimeter, baseboards and/or walls as needed. Let the grout cure for the recommended amount of time.
REAL BEAUTY. REAL PORCELAIN. REALLy FAST.

REVOTILE RESOURCES
RevoTile Customer Service Hotline
855-572-CLIC (2542)
Mon - Fri: 9am - 5pm (CST)

